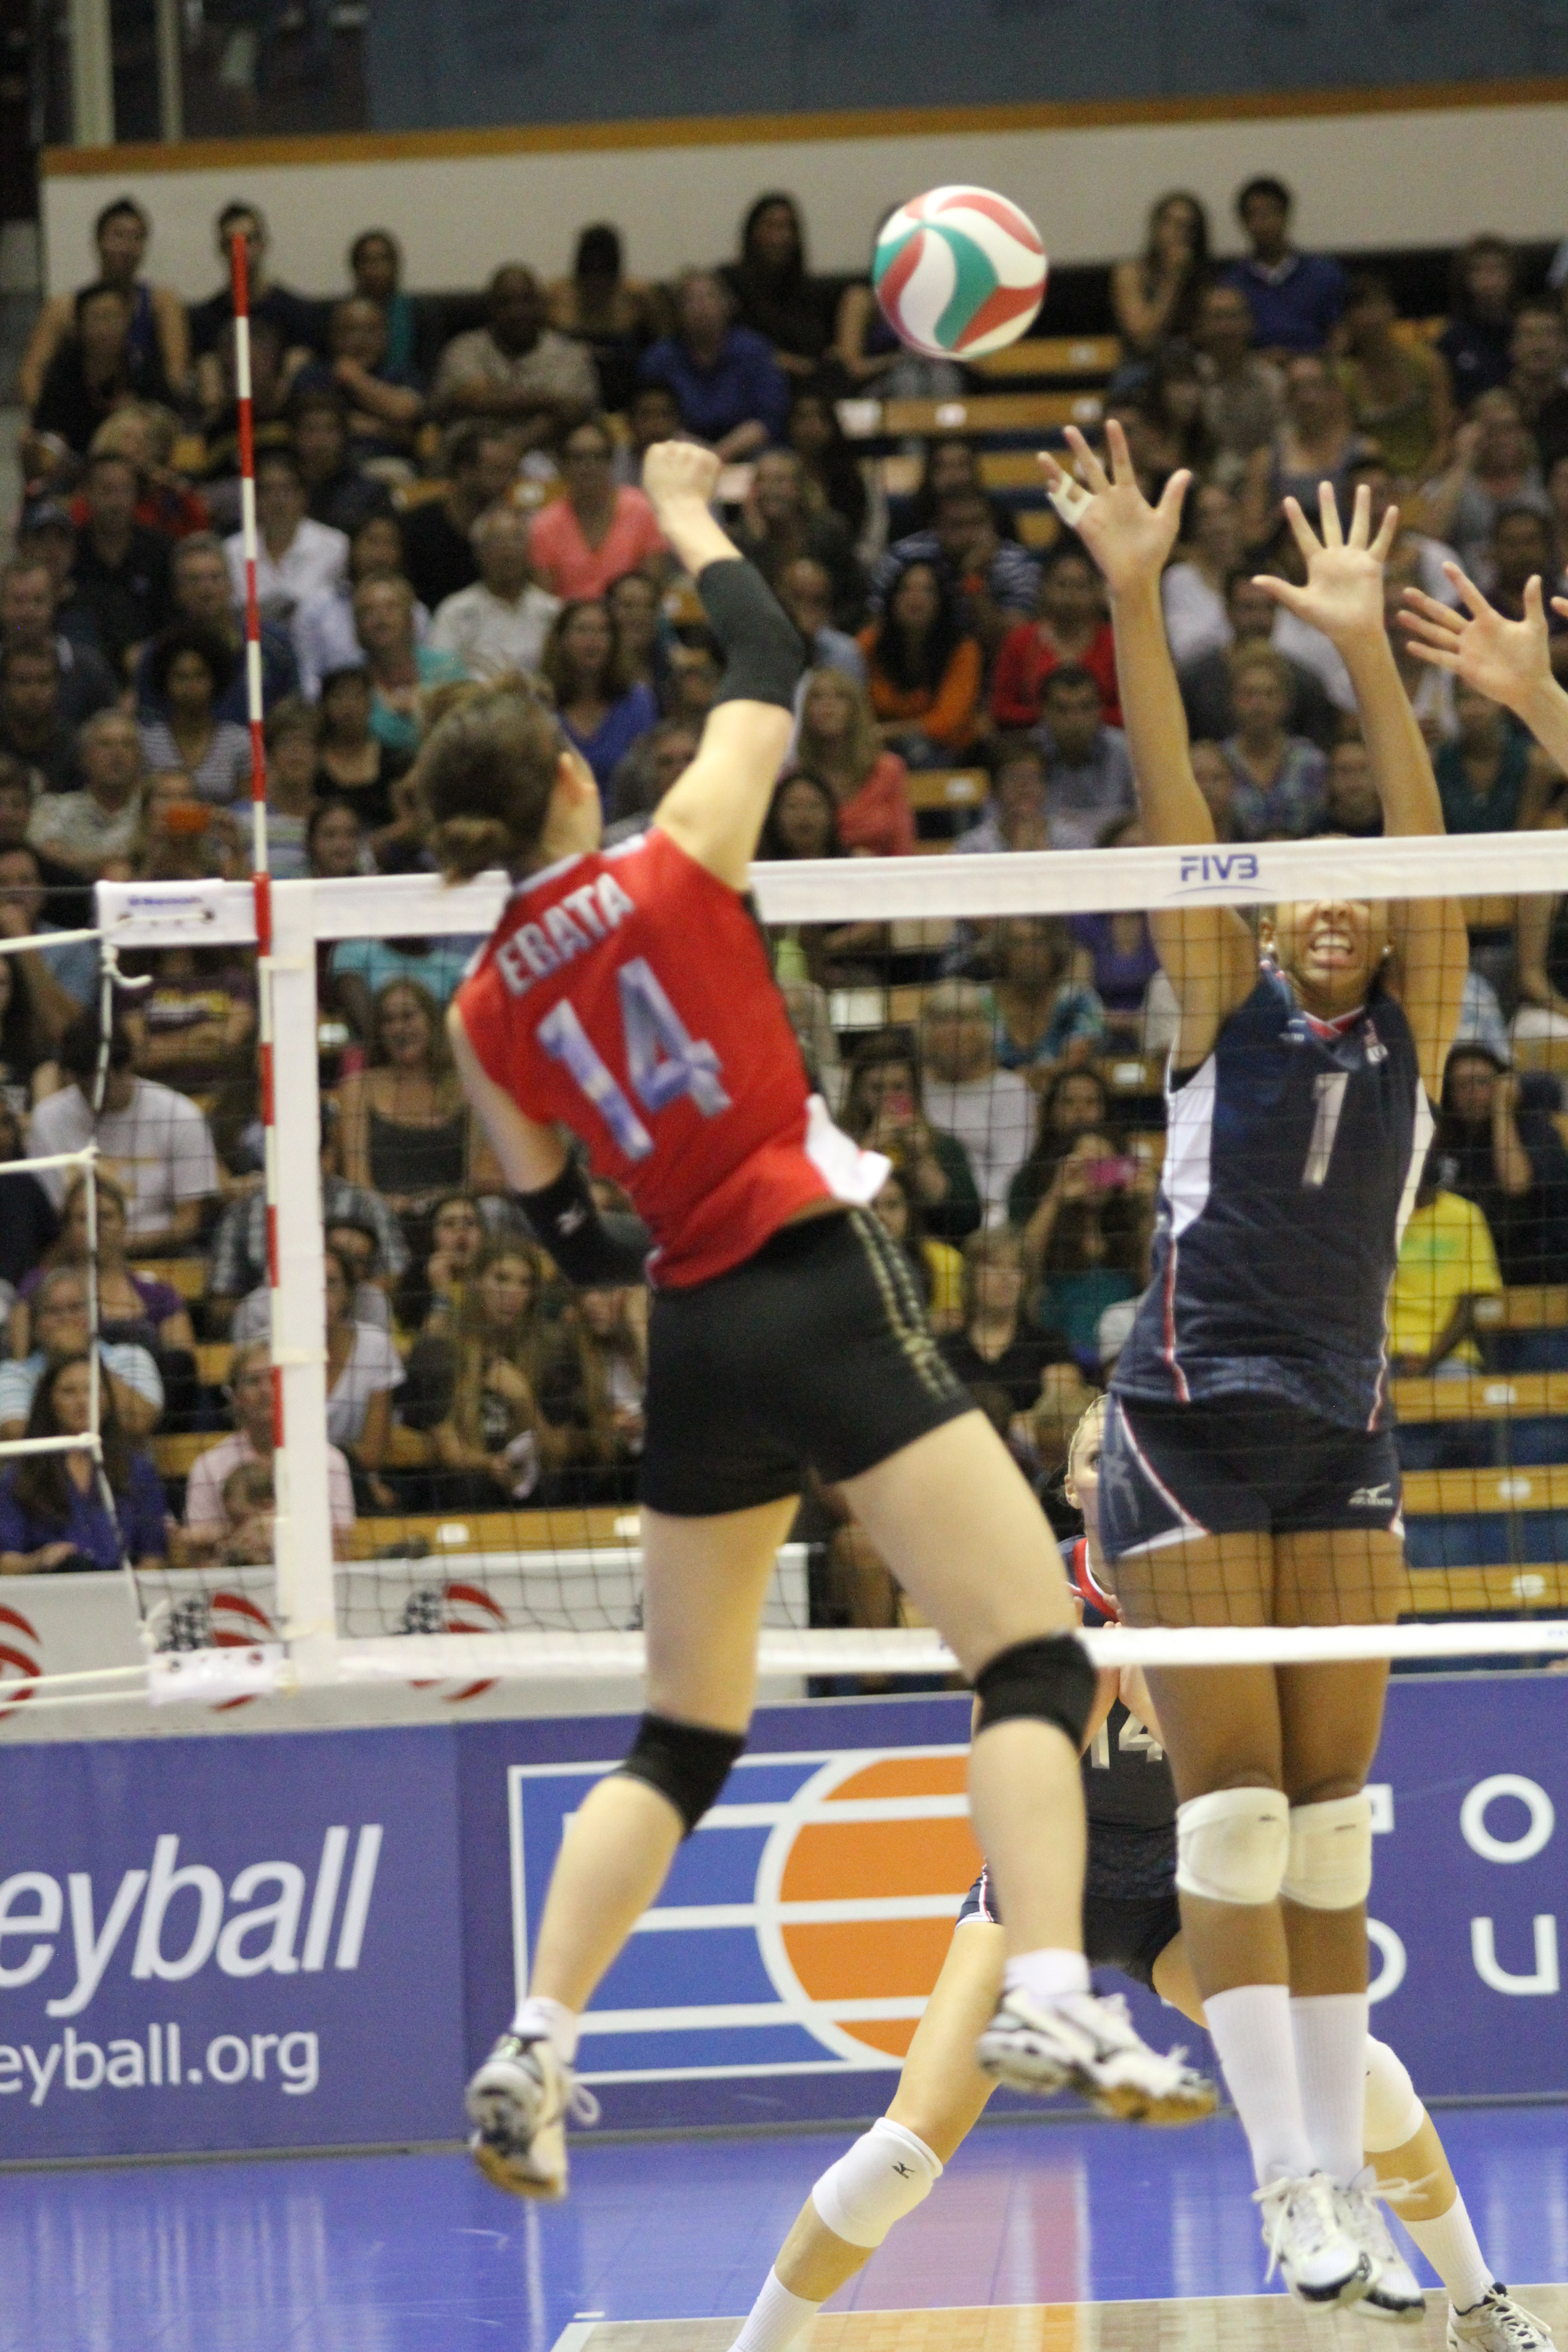
Soon, Sport Court is headed to the USA Volleyball Open National Championships. It’s one of our favorite tournaments because it demonstrates that volleyball is a lifetime sport!
We have a few tips for those of you beginning your volleyball career in hopes that you will fall in love with the game in your backyard and one-day play on the courts of the Opens. Last post, we discussed the basics of passing and setting. Now, we will go over the basics of serving and hitting.
Hitting
Hitting is your chance to attack the other team. A good approach and understanding of where to place the ball can lead to a dominating force at the net. However, getting to this point requires practice and patience.
Hitting 101
There are two different step patterns for a hitting approach.
1. 3 Step Approach
For a right handed hitter, the 3 step approach is left foot, right foot, then left foot.
For a left handed hitter, the 3 step approach is right foot, left foot, then right foot.
2. 4 Step Approach
For a right handed hitter, the 4 step approach is right foot, left foot, right foot, then left foot.
For a left handed hitter, the 4 step approach is left foot, right foot, left foot, then right foot.
Regardless what approach you use, make sure your knees are bent during each step. Concentrate more on the last two steps of your approach. They are the most important because they provide you explosiveness.
For a right handed hitter, the last 2 steps are right foot then left foot.
For a left handed hitter, the last 2 steps are left foot then right foot.
Watch this video by The Art of Coaching Volleyball for a step-by-step guide to the correct approach footwork and rhythm.
Point of Contact
The goal is to contact the ball at highest point possible.
As you leave the leave the floor to jump, pull your hitting arm back with the elbow and hand at shoulder height or higher.
Your hand should be open and relaxed, with the palm facing away from your ear.
Your elbow should swing forward and rise above the head.
Then your arm and hand swing over the top as the heal of the hand contacts the ball.
Your palm and fingers follow this and snaps through the ball.
The point of contact is slightly in front of you and as high as possible above your hitting shoulder.
Below is a drawing by USA Volleyball demonstrating the motions of hitting.

Backyard Hitting Drills
Wall Hitting
This drill requires only one player, a ball and a wall.
Pick a spot on the ball to hit. Toss the ball up, bring your arms in the air and then swing as if you are an attacker. Focus on using the proper arm swing technique.
Reach and Snap
The skill focuses on reaching high when hitting and snapping your wrist.
Two players will warm up their shoulders by throwing the ball back and forth to one another.
After both players’ shoulders are warm, players start tossing the ball up to themselves and hit it to each other.
Players should focus on reaching high and snapping their wrist when contacting the ball.
Serving
Serving is an essential skill of volleyball. It allows you to put pressure on the opposing team and helps your team score points.
Serving 101
Proper serving technique:
- Stand 6-8 feet off the end line
- Posture: left foot pulled back for a right handed server or right foot pulled back for a left handed server
- Hold the ball with your left hand (right hand for left-handed players) at chest level and aim for a target
- Take a deep breath
- Step with the left foot in the direction of the intended target, with hips swiveled bit to the right (opposite for a left-handed player)
- Toss* the ball in front of your right side (left side for left-handers) and keep your eyes on the ball
- Cock the hitting arm back with elbow high and thumb down (in an archery position)
- Contact the ball high with the palm shaped around the ball (middle of palm to middle to ball)
- Follow through the swing toward the intended target
- Go to your position and ready to play!
*The toss is the most important part of serving! You should toss the ball in a lifting motion and not lean forward or drop the tossing hand. Good tosses are very important because a consistent toss will produce fewer variables when contacting the ball.
For a more in-depth look into serving techniques watch this instructional video by Team USA.
Backyard Serving Drills
Practice Tossing
This may seem like a boring drill but making sure you can toss the ball in the same place every time is important to building a good serving foundation.
For this drill stand in the serving position described above.
Raise your serving hand and toss the ball as high as your hand reaches. Once you feel comfortable with your toss, practice contacting the ball with the meatiest part of your hand.
For more direction watch this instructional video by The Art of Coaching Volleyball.
Target Aim
Once you feel comfortable with your serve use this drill to challenge your targeting and consistency.
Place a target in any zone on your backyard court, preferably the two back corners on the opposite side of the net. Line up at the end line of the court. Serve the ball with the intention of hitting the target on the opposite side of the net.
Try to hit the target fifteen times. Once you have accomplished this, move the target to a different zone on the court and repeat. Learning to hit targets and keep your serve consistent will allow you to be a very effective in-game server.


